Notice
Recent Posts
Recent Comments
Link
| 일 | 월 | 화 | 수 | 목 | 금 | 토 |
|---|---|---|---|---|---|---|
| 1 | 2 | 3 | 4 | 5 | 6 | 7 |
| 8 | 9 | 10 | 11 | 12 | 13 | 14 |
| 15 | 16 | 17 | 18 | 19 | 20 | 21 |
| 22 | 23 | 24 | 25 | 26 | 27 | 28 |
Tags
- 개발공부
- 삼항연산자
- 코딩부트캠프
- [파이썬 실습] 심화 문제
- 개발일기
- 날씨 웹 만들기
- 부트캠프
- 간단한 날씨 웹 만들기
- HTML
- 리트코드
- 프론트개발
- [파이썬 실습] 기초 문제
- 프론트개발공부
- reactnativecli
- 자바스크립트 split()
- JavaScript
- 코드스테이츠
- 자바스크립트 sort()
- 엘리스
- [파이썬 실습] 중급 문제
- 자바스크립트 날씨
- 자바스크립트 날씨 웹 만들기
- 자바스크립트
- 자바스크립트 reduce()
- 엘리스 AI 트랙 5기
- 프로그래머스
- RN 프로젝트
- [AI 5기] 연습 문제집
- leetcode
- 엘리스 ai 트랙
Archives
- Today
- Total
개발조각
[Swiper & React] Swiper로 화면 밖에 pagination 만드는 방법 본문
728x90
반응형
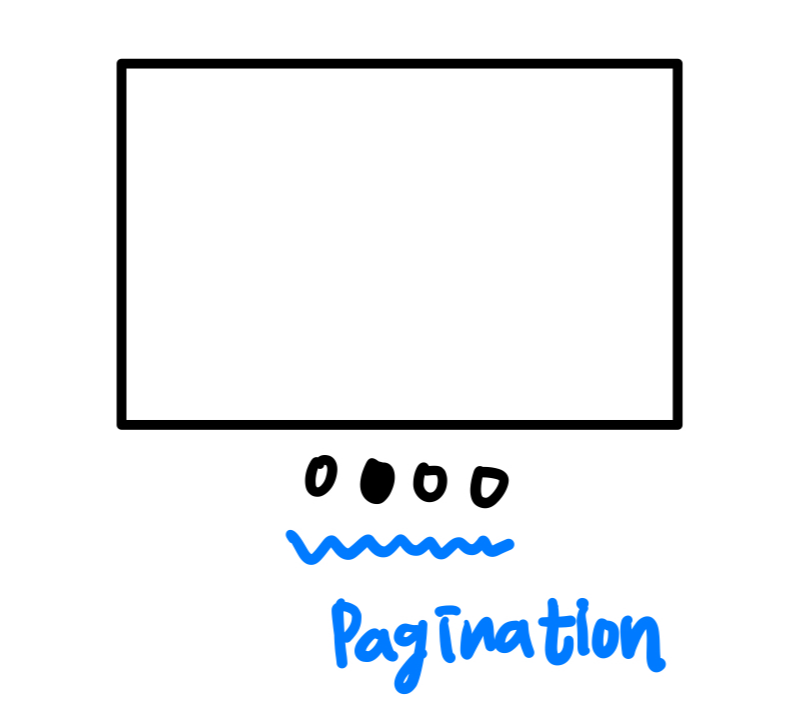
만들고 싶은 슬라이드

문제점
React로 위와 같은 슬라이드를 만들려면
<Swiper></Swiper> 안에 아래와 같이 적용을 해야 되는데
<Swiper pagination={true} modules={[Pagination]} className="mySwiper">
    <SwiperSlide>Slide 1</SwiperSlide>
    <SwiperSlide>Slide 2</SwiperSlide>
    <SwiperSlide>Slide 3</SwiperSlide>
    <SwiperSlide>Slide 4</SwiperSlide>
    <SwiperSlide>Slide 5</SwiperSlide>
    <SwiperSlide>Slide 6</SwiperSlide>
    <SwiperSlide>Slide 7</SwiperSlide>
    <SwiperSlide>Slide 8</SwiperSlide>
    <SwiperSlide>Slide 9</SwiperSlide>
  </Swiper>
이렇게 할 경우 Swiper가 hidden처리가 되어 있어 pagination을 따로 만들고 커스텀해주어야 된다.
해결방법
https://codesandbox.io/s/m54gfx?file=/src/App.jsx
swiper-react-pagination-custom - CodeSandbox
swiper-react-pagination-custom using react, react-dom, swiper
codesandbox.io
swiper demo예제 중에서 pagination을 커스텀하는 방법이 나와있고,
이를 참고해서 만들면 됩니다.
import React, { useRef, useState } from 'react';
// Import Swiper React components
import { Swiper, SwiperSlide } from 'swiper/react';

// Import Swiper styles
import 'swiper/css';
import 'swiper/css/pagination';

import './styles.css';

// import required modules
import { Pagination } from 'swiper/modules';

export default function App() {
  const paginationRef = useRef(null);

  const pagination = {
    el: paginationRef.current,
    clickable: true,
    renderBullet: function (index, className) {
      return '<span class="' + className + '">' + (index + 1) + '</span>';
    },
  };

  return (
    <>
      <div>
          <Swiper
            pagination={pagination}
            modules={[Pagination]}
            className="mySwiper"
          >
            <SwiperSlide>Slide 1</SwiperSlide>
            <SwiperSlide>Slide 2</SwiperSlide>
            <SwiperSlide>Slide 3</SwiperSlide>
            <SwiperSlide>Slide 4</SwiperSlide>
            <SwiperSlide>Slide 5</SwiperSlide>
            <SwiperSlide>Slide 6</SwiperSlide>
            <SwiperSlide>Slide 7</SwiperSlide>
            <SwiperSlide>Slide 8</SwiperSlide>
            <SwiperSlide>Slide 9</SwiperSlide>
          </Swiper>
      </div>
      <div className="swiper-custom-pagination" ref={paginationRef}></div>
    </>
  );
}
위예제에서 추가한 점은
1. Ref 추가하기
const paginationRef = useRef(null);
2. Ref 적용하기
<div className="swiper-custom-pagination" ref={paginationRef}></div>
3. pagination옵션 el에 Ref.current 넣기
  const pagination = {
    el: paginationRef.current,
    clickable: true,
    renderBullet: function (index, className) {
      return '<span class="' + className + '">' + (index + 1) + '</span>';
    },
  };
이 3가지만 적용하시면 pagination을 커스텀할 수 있습니다.
여기서 주의해야 될 점은 renderBullet에서 <span class=>에서 class를 className으로 쓰시면 오류가 납니다.
꼭 예제에 있는 그대로를 사용하시길 바랍니다.
728x90
반응형
'라이브러리' 카테고리의 다른 글
| [recoil, recoil-persist] 로그인 구현시 recoil-persist로 storage에 토큰 넣기 (0) | 2023.12.19 |
|---|---|
| [react-device-detect & video-react] 비디오 배경만들때 pc일때는 pc비디오, mobile일때는 mobile비디오 나오게 하기 (0) | 2023.09.21 |
| [react-device-detect] 각 디바이스마다 맞는 스토어 이동기능 구현하기 (0) | 2023.09.21 |
| [Swiper & React] Swiper로 두개의 슬라이드 동시에 제어하기 (0) | 2023.09.10 |
| [Swiper & React] Swiper로 화면 밖에 navigation 만드는 방법 (0) | 2023.09.10 |
Comments


