
| 일 | 월 | 화 | 수 | 목 | 금 | 토 |
|---|---|---|---|---|---|---|
| 1 | 2 | 3 | 4 | |||
| 5 | 6 | 7 | 8 | 9 | 10 | 11 |
| 12 | 13 | 14 | 15 | 16 | 17 | 18 |
| 19 | 20 | 21 | 22 | 23 | 24 | 25 |
| 26 | 27 | 28 | 29 | 30 |
- 코드스테이츠
- leetcode
- [파이썬 실습] 기초 문제
- 자바스크립트 날씨 웹 만들기
- 부트캠프
- 자바스크립트 reduce()
- 프론트개발공부
- 날씨 웹 만들기
- 개발공부
- [AI 5기] 연습 문제집
- 개발일기
- 자바스크립트
- 프론트개발
- RN 프로젝트
- reactnativecli
- 프로그래머스
- 간단한 날씨 웹 만들기
- 엘리스
- 자바스크립트 sort()
- 엘리스 ai 트랙
- 엘리스 AI 트랙 5기
- HTML
- 삼항연산자
- 자바스크립트 날씨
- JavaScript
- 자바스크립트 split()
- [파이썬 실습] 중급 문제
- 리트코드
- [파이썬 실습] 심화 문제
- 코딩부트캠프
- Today
- Total
개발조각
[React-native CLI] 폰트 적용하기, 글로벌 폰트 적용하기(글로벌 폰트는 애매함) 본문
[React-native CLI] 폰트 적용하기, 글로벌 폰트 적용하기(글로벌 폰트는 애매함)
개발조각 2024. 3. 7. 21:33이번에는 react-native에 기본 폰트 변경하는 방법에 대해 설명하겠습니다.
이전에 expo에서 기본 폰트가 변경이 안 되가지고 css로 font-weight를 할 때 다 에러가 나서 난리가 났던 기억이 있다.
이번 프로젝트에서는 Noto Sans Korean을 사용할 예정입니다.
무료폰트 중에서 가장 정직하고 깔끔한 폰트라는 생각이들어 자주 사용하게 되네요.
(블로그에서는 확실한 비교를 위해 Noto Sans Korean 말고 NanumRenScript를 사용했습니다!!)
폰트 다운로드 받기
Browse Fonts - Google Fonts
Making the web more beautiful, fast, and open through great typography
fonts.google.com
들어가셔서 사용할 폰트와 폰트 굵기를 선택하시고 다운로드하시면 됩니다.
다운로드하실 때 ttf로 다운로드하시면 됩니다.
Assets에 폰트 파일 추가
app
|- assets
	|- fonts
    		|- NotoSansKR-Bold.ttf
            	|- NotoSansKR-Medium.ttf
            	|- NotoSansKR-Regular.ttf
이런 식으로 폰트 추가하시면 됩니다.
https://velog.io/@tmdghks_dev/React-Native-%ED%8F%B0%ED%8A%B8-%EC%A0%81%EC%9A%A9-%EB%B0%A9%EB%B2%95
[React-Native] 폰트 적용 방법
React Native 에서 Custom Fonts를 사용하는 방법입니다.
velog.io
적용방법은 이 블로그를 참고하여 작성했습니다.
react-native.config.js 생성하고 font위치를 명시
폴더작성할 때 적어두었지만 "사용하고 싶은 폰트.ttf"말고도 더 설정해야 되는 게 있습니다.
react-native.config.js를 생성하고 font위치를 명시시켜줘야 됩니다.
폴더
app
|- assets
	|- fonts
    		|- NotoSansKR-Bold.ttf
            	|- NotoSansKR-Medium.ttf
            	|- NotoSansKR-Regular.ttf
react-native.config.js
저는 이런 식으로 react-native.config.js를 생성해 주었습니다.
여기서 주의해야 될 점이 있는데요.
꼭 js로 써주어야 됩니다.
저는 프로젝트가 타입스크립트로 되어 있어서 react-native.config.ts로 했다가 안 되가지고 js로 바꾸었더니 잘 작동이 되더라고요.
react-native.config.js
module.exports = {
  assets: ['app/assets/fonts'],
};
assets: ['폰트 저장위치']하시면 됩니다.
그다음 각 플랫폼(ios, android)에 적용하면 됩니다.
각 플렛폼(ios, android)에 적용
npx react-native-asset터미널에 이 명령을 작성하시면
ios에서 Info.plist에 아래와 같은 코드가 추가됩니다.
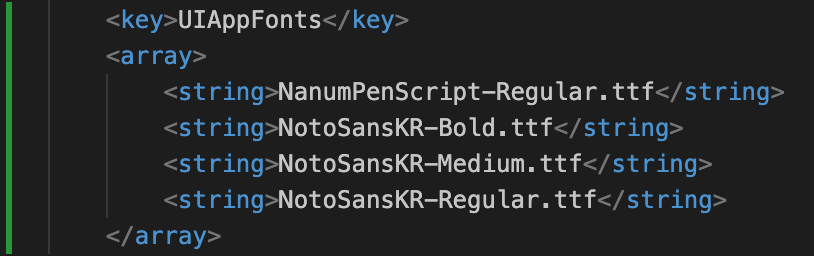
코드에 적용하기
Home.tsx
// react, react-native
import {Text, View, StyleSheet} from 'react-native';

import BasicsButton from '../components/BasicsButton.tsx';

const Home = () => {
  const styles = StyleSheet.create({
    view: {
      display: 'flex',
      alignItems: 'center',
      justifyContent: 'center',
      flex: 1,
    },
    text: {
      fontFamily: 'NanumPenScript-Regular',
    },
  });

  return (
    <View>
      <Text style={styles.text}>홈 스크린</Text>
      <Text>홈 스크린</Text>

      <BasicsButton />
    </View>
  );
};

export default Home;
일단 폰트가 적용되는지 확인해 보았습니다.
정확한 판단을 위해 특이한 폰트로 적용해 보았습니다.
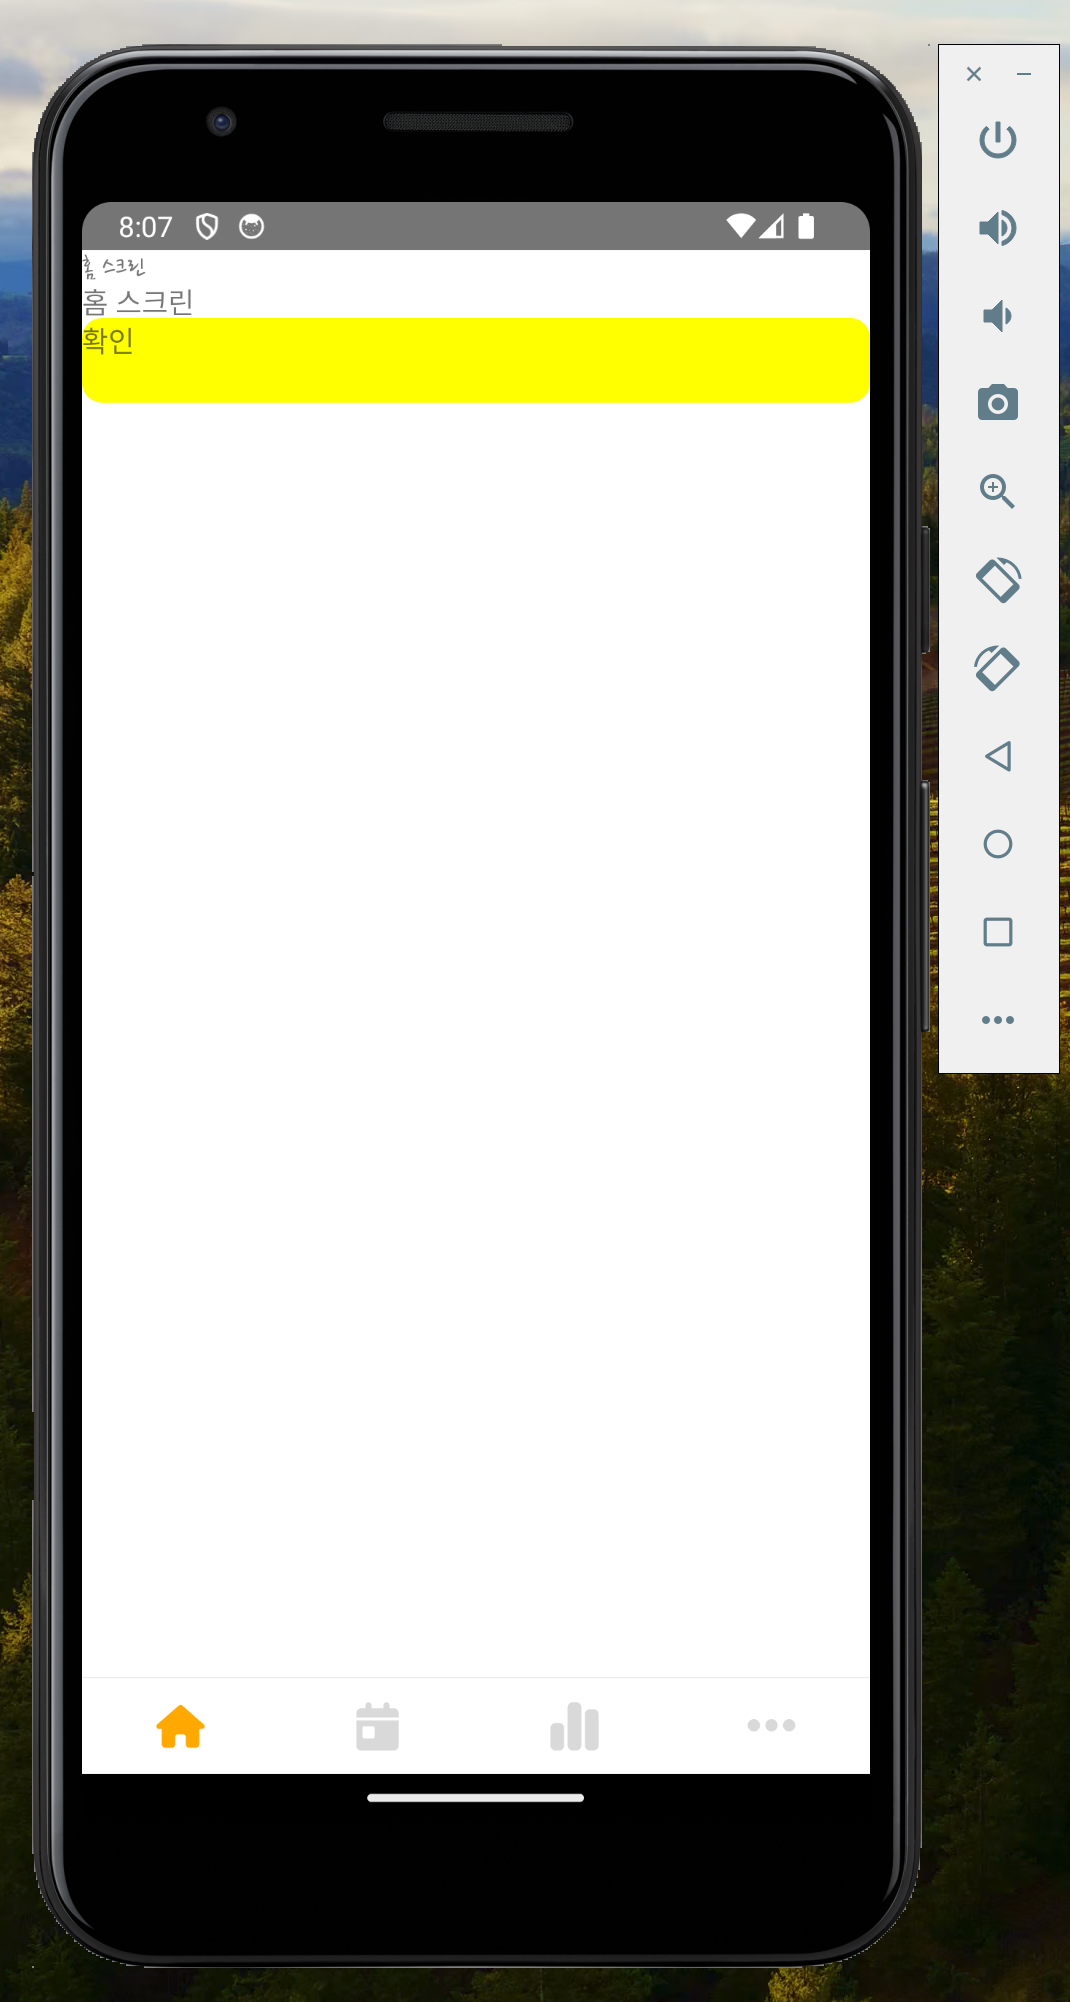
ios가 업데이트한 뒤로 ios 시뮬레이터가 빌드 오류가 떠서 android 결과화면밖에 올리지 못했습니다...
하지만 제가 하고 싶은 건 RN에 글로벌 폰트를 적용하는 겁니다.
엄청난 서칭 후에 한 가지를 발견했는데요.
https://velog.io/@sangbooom/React-Native-global-font-%EC%84%A4%EC%A0%95
React Native global font 설정
RN에서 전역적으로 동일한 글꼴을 사용하고싶다.모든 Text 노드에 수동으로 적용하는 것은 지나치게 비효율적이다.내가 적용한 방법은 다음과 같다.
velog.io
react-native-global-props를 이용하여 글로벌 폰트를 적용하는 방법입니다.
폰트이름 카멜케이스로 바꾸기
솔직히 블로그 읽어봐도 왜 바꾸는지 이해가 안 되는데 바꾸는 게 좋다 해서 저는 바꿨습니다.
https://velog.io/@dongdong98/React-Native-Font-%EC%84%A4%EC%A0%95
React-Native Font 설정
react-native-config.js 생성, 이후 아래와 같이 작성이후 npx react-native link 입력 → 자동으로 android 와 ios에 연결이 됨zeplin 에서 fontweight 를 Camel Case 이용하여 마지막에 덧붙인다.그 중에 기
velog.io
이 블로그에서는 바꾸는 게 좋다 해서 바꾸긴 했습니다.
라이브러리 설치
npm install react-native-global-props
App.tsx에 적용하기
App.tsx
// react, react-native
import {NavigationContainer, DefaultTheme} from '@react-navigation/native';
import StackNavigator from './navigation/StackNavigator';
import {setCustomText} from 'react-native-global-props'; // 적용

const App = () => {
// 적용
  const customTextProps = {
    style: {
      fontFamily: 'NanumPenScriptRegular',
    },
  };
// 적용
  setCustomText(customTextProps);

  const customTheme = {
    ...DefaultTheme,
    colors: {
      ...DefaultTheme.colors,
      background: '#fff',
    },
  };

  return (
    <NavigationContainer theme={customTheme}>
      <StackNavigator />
    </NavigationContainer>
  );
};

export default App;
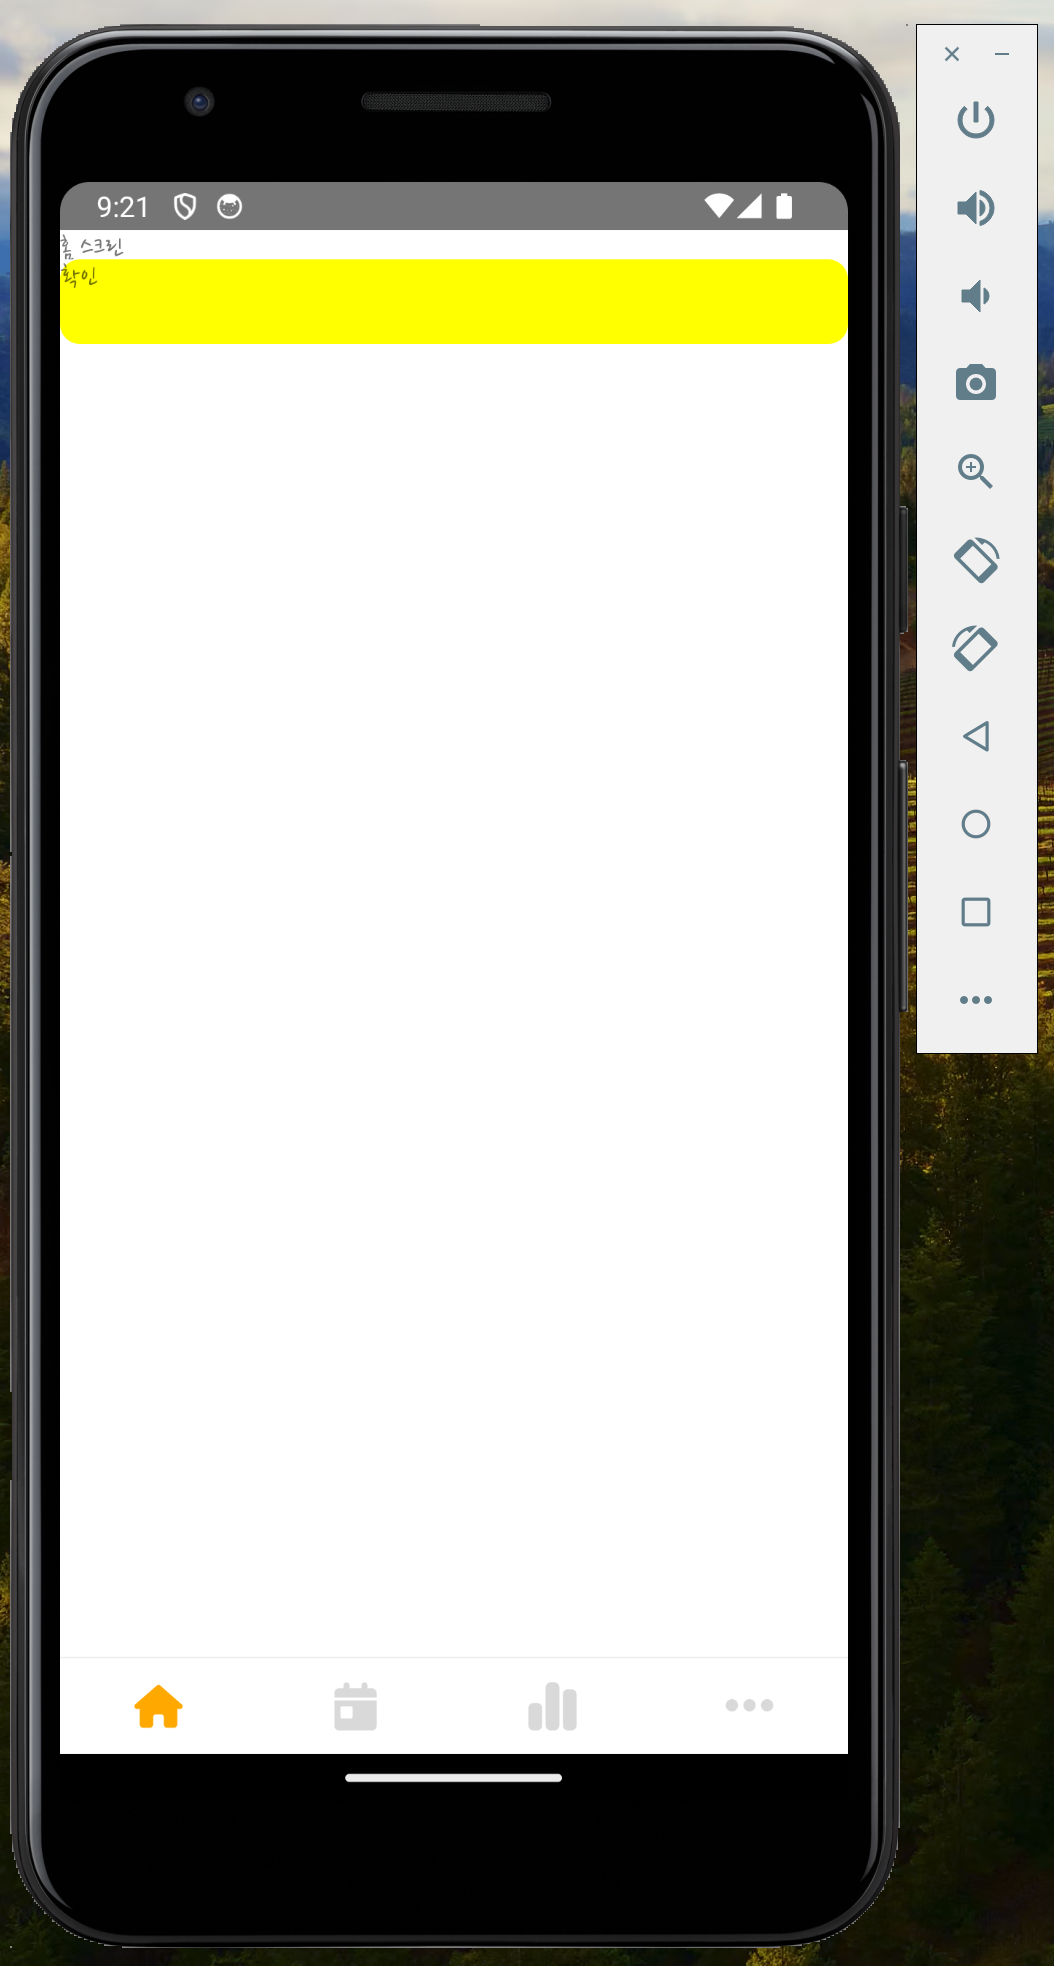
적용되었습니다.
react-native-global-props 단점
하지만 이 라이브러리의 큰 단점이 있습니다.
Text에 스타일 적용하면 글로벌폰트 적용했던 게 다 풀립니다.
예시를 보여드리겠습니다.
Home.tsx
// react, react-native
import {Text, View, StyleSheet} from 'react-native';

import BasicsButton from '../components/BasicsButton.tsx';

const Home = () => {
  const styles = StyleSheet.create({
    view: {
      flex: 1,
      alignItems: 'center',
      justifyContent: 'center',
    },
    text: {
      fontSize: 50,
    },
  });

  return (
    <View>
      <Text style={styles.text}>홈 스크린</Text>
      <Text>홈 스크린</Text>

      <BasicsButton />
    </View>
  );
};

export default Home;
이렇게 text에 폰트사이즈 50을 적용하면 폰트적용이 풀립니다.
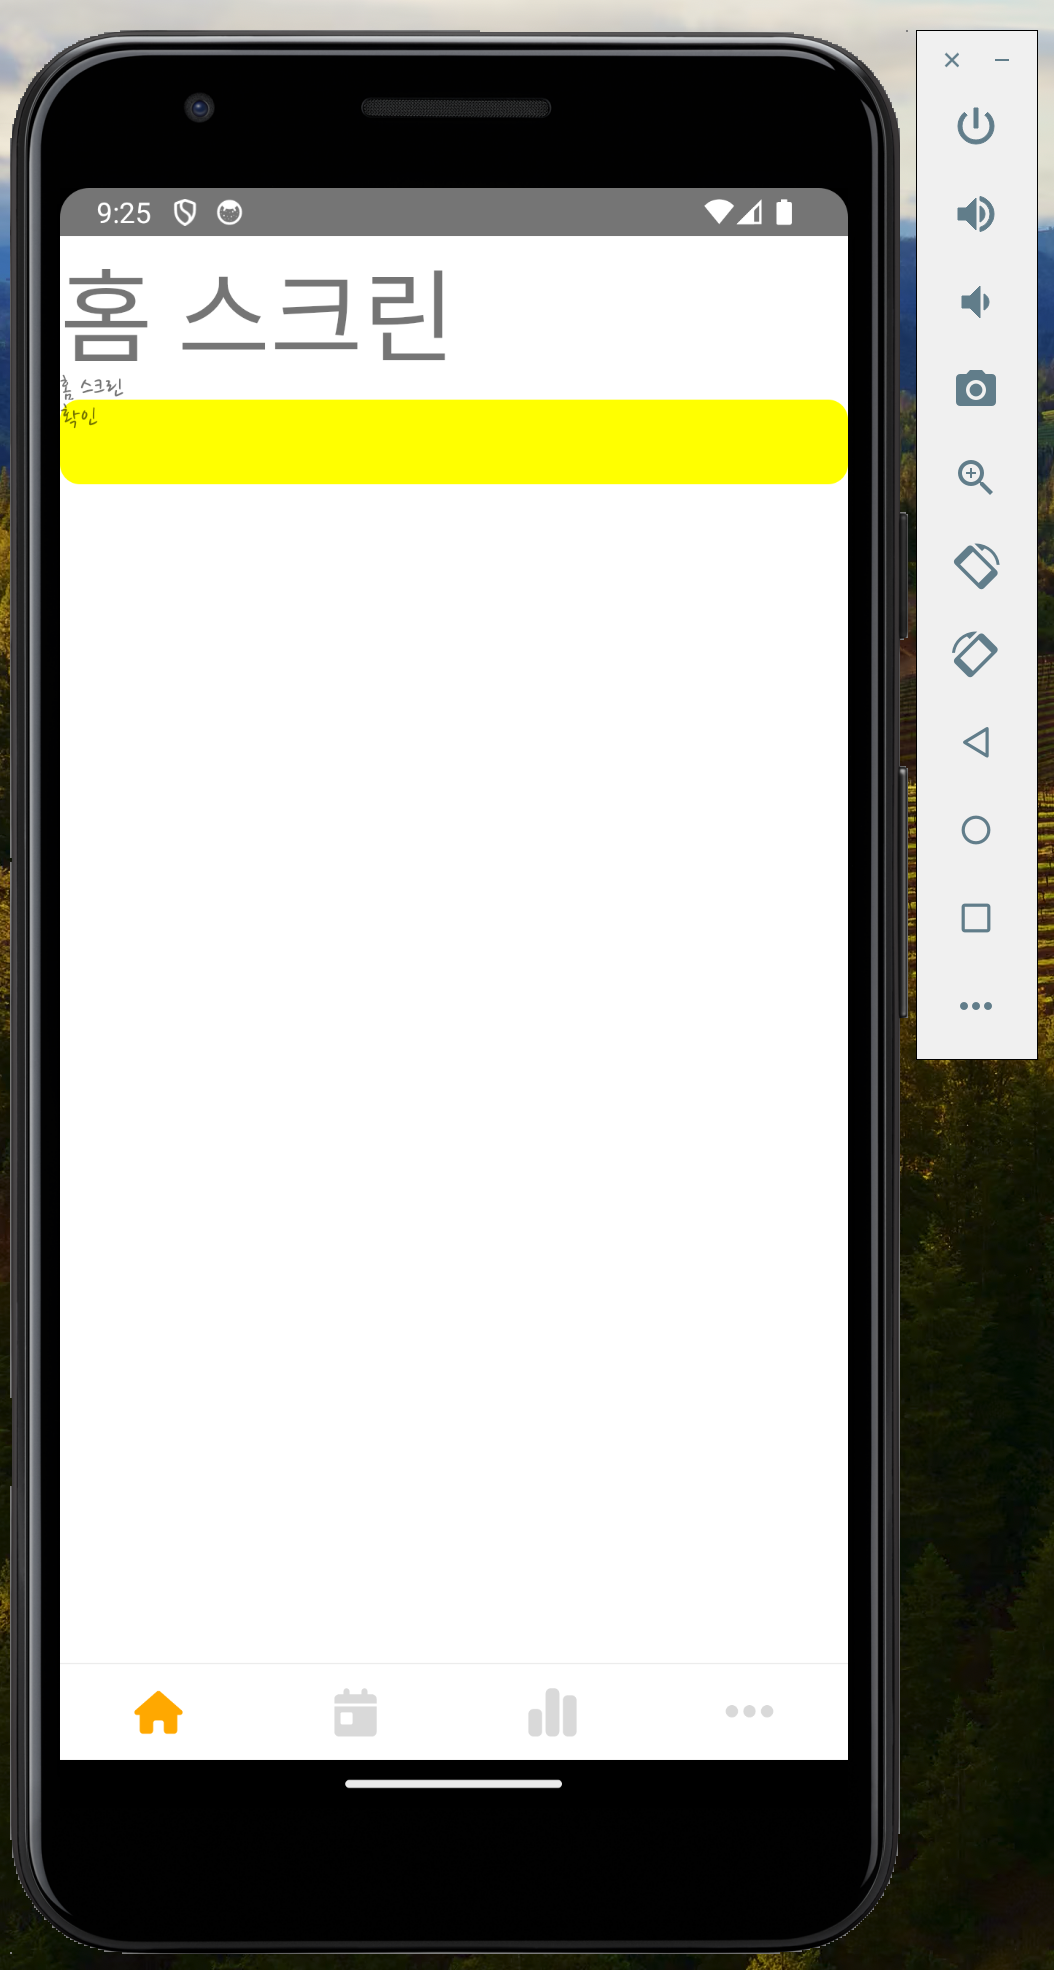
일단은 기본적인 fontFamily, fontsize를 설정하고 굵기가 필요할 경우 각각 다 설정해서 사용해볼까 합니다...ㅠ
영 힘들면 아래블로그대로 해보고요.
https://focus-on-my.tistory.com/257
[React Native] 폰트 설치 및 적용
폰트 설치는 아래 페이지를 따라 했다. 적용에서 헤맸지만.. 설치는 어렵지 않다. 폰트 적용은 아래로! mehrankhandev.medium.com/ultimate-guide-to-use-custom-fonts-in-react-native-77fcdf859cf4 Ultimate guide to use custom fo
focus-on-my.tistory.com
이 블로그에서는 다른 방식으로 전역폰트를 설정했는데
지금 전역폰트 설정한 게 너무 잘 안되면 저도 이 블로그 방법으로 바꿔보려고 합니다.
'React-Native > [프로젝트] 택시 운행관리 기록장' 카테고리의 다른 글
| [React-native CLI] RN스타일, styled-components로 화면 구현하기(Home화면 스타일) (0) | 2024.03.12 |
|---|---|
| [React-native CLI] Realm 사용하기 및 사용방법 (0) | 2024.03.11 |
| [React-native CLI] styled-components 설치 및 세팅 (0) | 2024.03.06 |
| [React-native CLI] svg사용하는 방법 및 react-navigation 커스텀 (0) | 2024.03.06 |
| [React-native CLI] react native cli에서 navigation 설치 및 설정하기(npm) (0) | 2024.03.05 |


